

Why Tire Condition Is a Safety Baseline
Tires are the only part of your vehicle in constant contact with the road. Their condition affects braking distance, cornering stability, and how your car responds in an emergency - factors that matter most when road conditions are already difficult. Underinflated tires generate excess heat and flex, accelerating wear and increasing the risk of a blowout. Worn tread fails to channel water away efficiently, raising the risk of hydroplaning on wet roads.
The reassuring news: the two most important checks - pressure and tread depth - require no mechanical expertise and take under 15 minutes. This guide walks you through both, step by step. If you're heading out soon, you may also want to review the pre-trip vehicle readiness checklist for a broader look at what to verify before longer drives.
What you will need
Tools You'll Need
You don't need a garage full of equipment. The checks in this guide require only a few inexpensive items most households already own or can find at any auto parts store or gas station. A basic dial or digital gauge costs just a few dollars and lasts for years.
Tire Pressure Gauge
Measures air pressure inside each tire in PSI so you can inflate or deflate to the correct level.
Penny or Quarter
Used as a no-cost tread depth gauge to determine whether grooves are still within a safe range.
Portable Air Compressor
Allows you to add air to low tires at home without needing to drive to a gas station.
Tread Depth Gauge
Provides a precise numeric reading of remaining tread depth in 32nds of an inch.
Step-by-Step: Checking Pressure and Tread
Follow these steps in order for a complete, reliable inspection of all four tires. Aim to do this monthly - pick a consistent trigger, such as the first Saturday of each month or each time you pay a utility bill, so it becomes automatic.
Find your vehicle's recommended tire pressure
Open the driver's door and look for a label on the door jamb - it's typically a white or yellow sticker. It lists the manufacturer's recommended cold tire pressure in PSI for front and rear tires. This number is your target. Ignore the maximum pressure molded into the tire sidewall; that figure is the tire's physical limit, not a safe operating target.
Check pressure when tires are cold
Tire pressure readings are most accurate when the tires are cold - meaning the car has been parked for at least three hours or driven fewer than one mile at low speed. Heat from driving causes air to expand, inflating the reading by several PSI and masking an underinflation problem. Check all four tires and the spare if accessible.
Read each tire and adjust as needed
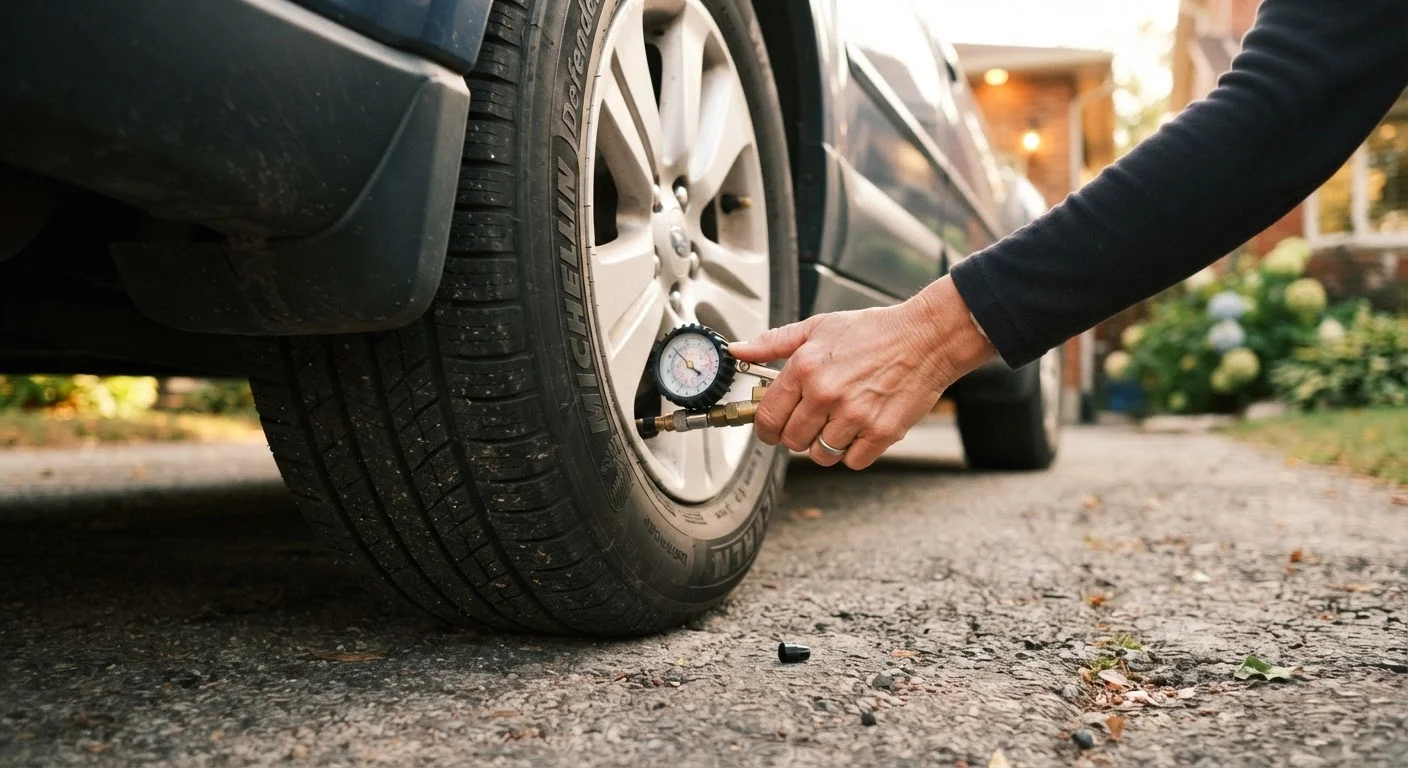
Remove the valve cap from the tire stem and press the gauge firmly and squarely onto the valve. Read the PSI. If the reading is below your target, add air in short bursts and recheck. If the reading is above, press the small pin in the center of the valve with a pen tip or the back of a stick gauge to release air, then recheck. Reinstall the valve cap when done.
Perform the penny tread depth test
Hold a penny with Lincoln's head pointing down and insert it into a tread groove. If you can see the top of Lincoln's head, the tread depth is at or below 2/32 of an inch - the federally recognized minimum for passenger vehicles - and the tire should be replaced. For a more conservative check, use a quarter: if the top of Washington's head is visible, you're below 4/32 of an inch and traction in wet conditions is already compromised.
Test several grooves across the tire's width and at multiple points around the circumference, since wear is often uneven.
Inspect tires visually for damage and uneven wear
Walk around the vehicle and examine each tire for the following:
- Sidewall bulges or bubbles: Indicate internal structural damage. The tire can fail suddenly - have it inspected by a qualified mechanic promptly.
- Cracks or dry rot: Fine lines in the rubber, especially on older tires, signal material degradation.
- Uneven tread wear: Wear concentrated on one edge suggests misalignment; wear in the center or on both edges points to chronic over- or underinflation, respectively.
- Embedded objects: Screws or nails may be holding air for now but will eventually cause a slow leak or blowout.
When to Involve a Qualified Mechanic
Sidewall damage, persistent pressure loss, or tread wear concentrated on one side are not DIY fixes. A certified technician can diagnose underlying issues - such as misalignment, suspension wear, or a slow bead leak - that pressure checks and visual inspections alone cannot resolve. Addressing these problems early is generally far less expensive than replacing a prematurely worn set of tires.
Reading the Warning Signs Between Checks
A few symptoms between monthly checks are worth acting on immediately rather than waiting for your next scheduled inspection:
- TPMS warning light: The Tire Pressure Monitoring System light (a cross-section of a tire with an exclamation point) illuminates when one or more tires drop approximately 25% below the recommended PSI. Check all tires - including the spare if your system monitors it - as soon as it's safe to do so.
- Pulling to one side while driving: Can indicate a significant pressure difference between left and right tires, or an alignment issue that's accelerating wear. See also brake warning signs, since pulling is a symptom shared by both brake and tire problems.
- Vibration through the steering wheel: Often tied to a wheel balance issue or an internal tire defect. Have it evaluated by a mechanic.
Pair Tire Checks With Other Routine Habits
Tire pressure and tread inspections take fewer than 10 minutes and pair naturally with other monthly checks. Review your full maintenance schedule to see how tire care fits alongside fluid checks, filter replacements, and service intervals.
Tire Age Matters Even With Good Tread
Rubber degrades over time regardless of how much tread remains. Many vehicle manufacturers and tire industry groups suggest that tires older than six years be inspected annually by a professional, and that tires older than ten years be replaced regardless of appearance. Check the four-digit DOT date code on the tire sidewall - the last four digits indicate the week and year of manufacture (e.g., 2419 = 24th week of 2019).
Building tire awareness into your routine driving - glancing at your tires when you walk to your car, noting any visible sag - costs nothing and can catch problems before they escalate. For a broader foundation in routine car care, the first-time owner's roadmap covers the other foundational checks every driver benefits from knowing.
The content provided on our blog site traverses numerous categories, offering readers valuable and practical information. Readers can use the editorial team’s research and data to gain more insights into their topics of interest. However, they are requested not to treat the articles as conclusive. The website team cannot be held responsible for differences in data or inaccuracies found across other platforms. Please also note that the site might also miss out on various schemes and offers available that the readers may find more beneficial than the ones we cover.